Showing posts with label DIY. Show all posts

$4 DIY Balloon Garland

Monday, October 22, 2018


I've been dreaming of making a balloon garland for weeks now! I am hosting my best friend's bridal shower in two weeks and really wanted an excuse to practice before the big day. Luckily, we were asked to host our friend's gender reveal, which lent itself to be the perfect opportunity for me to try out making a balloon garland!

Y'all...it was SO EASY! And SO CHEAP!

I spent $4 on 60 balloons from Wal-Mart and followed this tutorial. From start to finish it took around one hour. And, we LOVED how it turned out!

Have y'all ever made a balloon garland? I can tell you now that this will not be the last time I whip one of these babies up!

Happy Monday!

Easy DIY Photo Backdrop

Wednesday, July 11, 2018


Last month I headed to Nashville for my best friend's bachelorette party! I am the MOH, so I felt like I had to go all out! M bestie is so deserving of the best and I wanted to give that to her...but on a budget, hah!

Besides a budget, I also had to figure out how to get all the decor from Dallas to Nashville, so I had to really think things through. I knew we had to have a photo backdrop and after scouring Pinterest and Etsy, I just wasn't willing to pay tons of money for something that could potentially get ruined after being shoved in a suitcase.

That is when I came across this tutorial and it was SO easy and I am pretty impressed with the results! One tip I will add is to make sure you have really sharp scissors or a paper cutter. I ended up using my paper cutter and it made things go so quickly!


DIY Pipe Shelves

Thursday, July 6, 2017


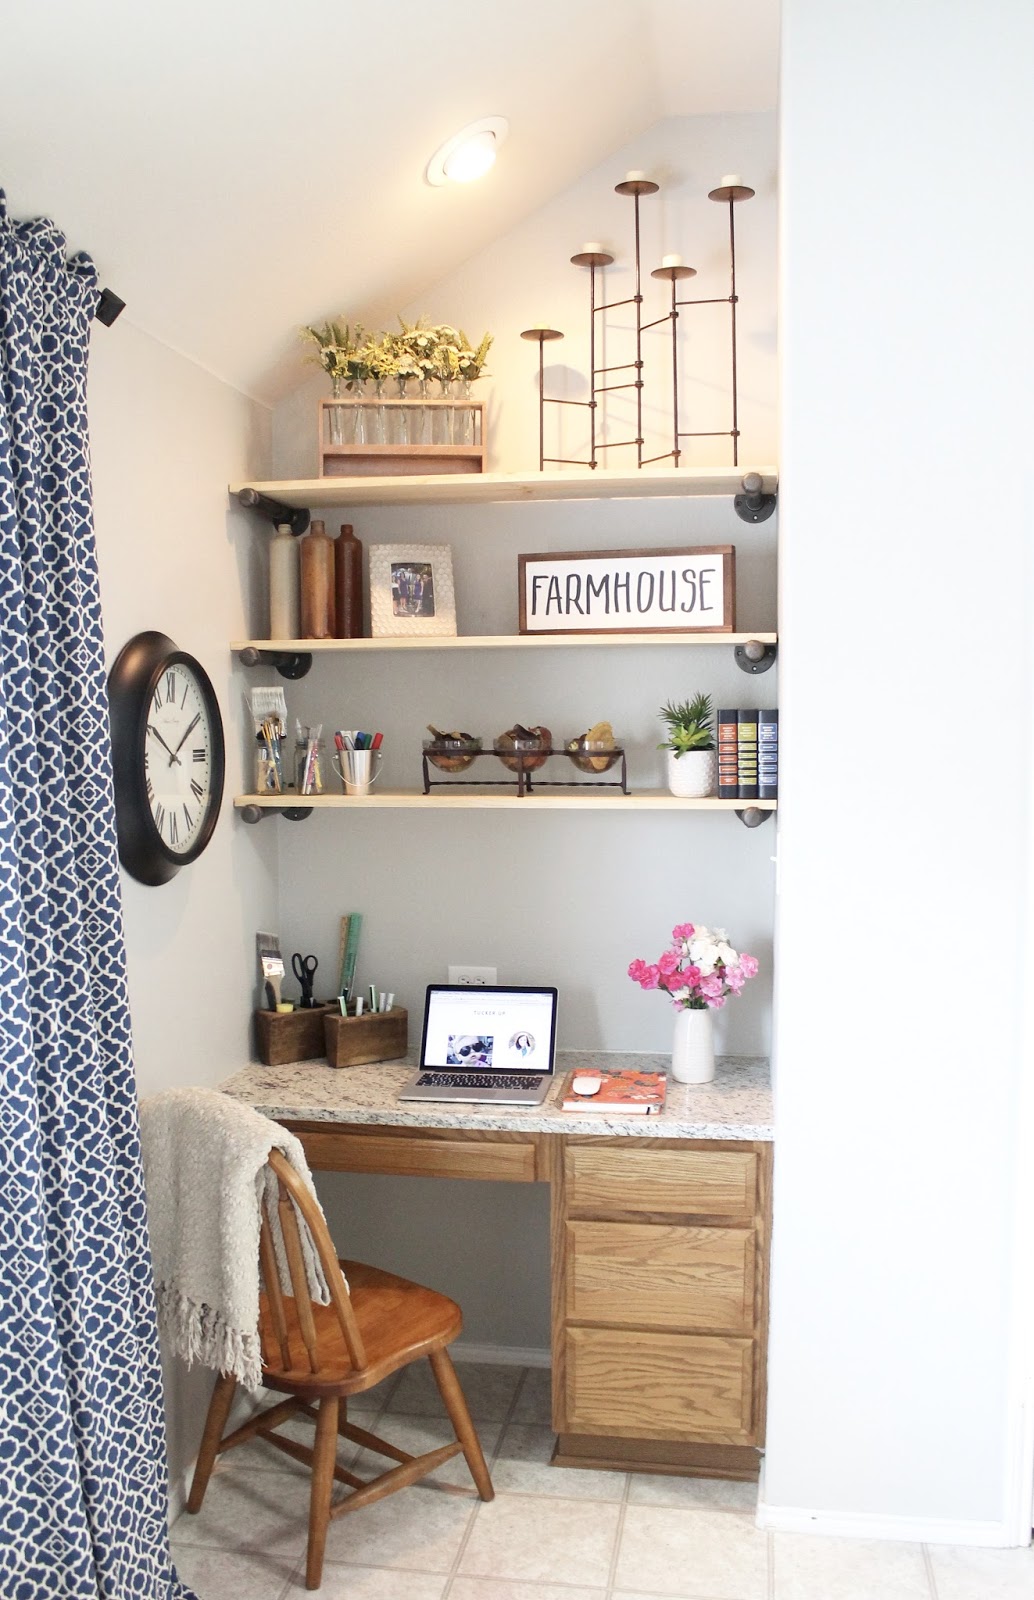
Here is a before shot. I could only find a picture before we moved in!


This is one of those projects that you do, then you wonder why it took you so long to do it!

Our kitchen has this little office nook area that, honestly, just 'catches' all our junk. It is the hurry-clean-the-table-off drop spot, the mail drop spot, my craft area, and it also houses all our stationary, pens, pencils, markers, etc. 

A few weeks ago we emptied all the drawers and cleaned that area out. It wasn't but a day later when all the stuff started to pile back on. There was no place to put everything except for on the actual counter.

The solution? DIY pipe shelves! 

I had seen these everywhere and knew Chris could throw them up in no time. I sent him out to the store and less than a hour later, I had three new shelves that I am completely in love with!

Of course they will eventually be piled high with junk, but I figured I'd show them off before they really got put to use. I can't decide if I like them raw, or if I'm going to stain them. I also am going to paint the drawers white, but that's a project for another weekend :)

Oh, and you might have noticed the HUGE color change! After three years of living with a brown kitchen, I finally bit the bullet and painted the kitchen! The color is Repose Gray by Sherwin Williams. It is the same color in Graham's nursery and our guest bathroom. I LOVE it! I still have plans to change many other things, but that is for a different post!!

Happy Thursday!

PS: I didn't include instructions because there are a million other posts out there that are way more explanatory that I could ever be! Just Google DIY Pip Shelves and then fit the measurements to your needs!

I've got something brewing...

Monday, August 29, 2016

...but I can't spill the beans just yet! Very soon I will be unveiling something I've been working on for awhile now and I can't wait to let the cat out of the bag!

Not only has my G-baby been taking up a lot of my time, but this new little baby (the not-human kind) has been filling my time where Graham isn't. Not to mention school starting back up! Can I have a couple more weeks of summer, please?

I don't want to divulge too many details, but I can give you one sneak peek...


Eeeek! Happy Monday, friends!

DIY || $20 Garage Door Upgrade

Tuesday, June 23, 2015


You know those cars with the eyelashes on the headlights? The eyelashes are supposed to add pizzazz to what is usually a normal, run of the mill car. Although I've never been bold enough to deck out my car with falsies, I am willing to deck out the front of my run of the mill house with some new bling.

Okay, it's not exactly bling, because Chris nor I are kin to Jay Z or Bey, so we can't afford an actual blinged out house, but we did splurge on a $20 hardware kit to spruce up the ole plain white rectangle, otherwise known as a garage door. 

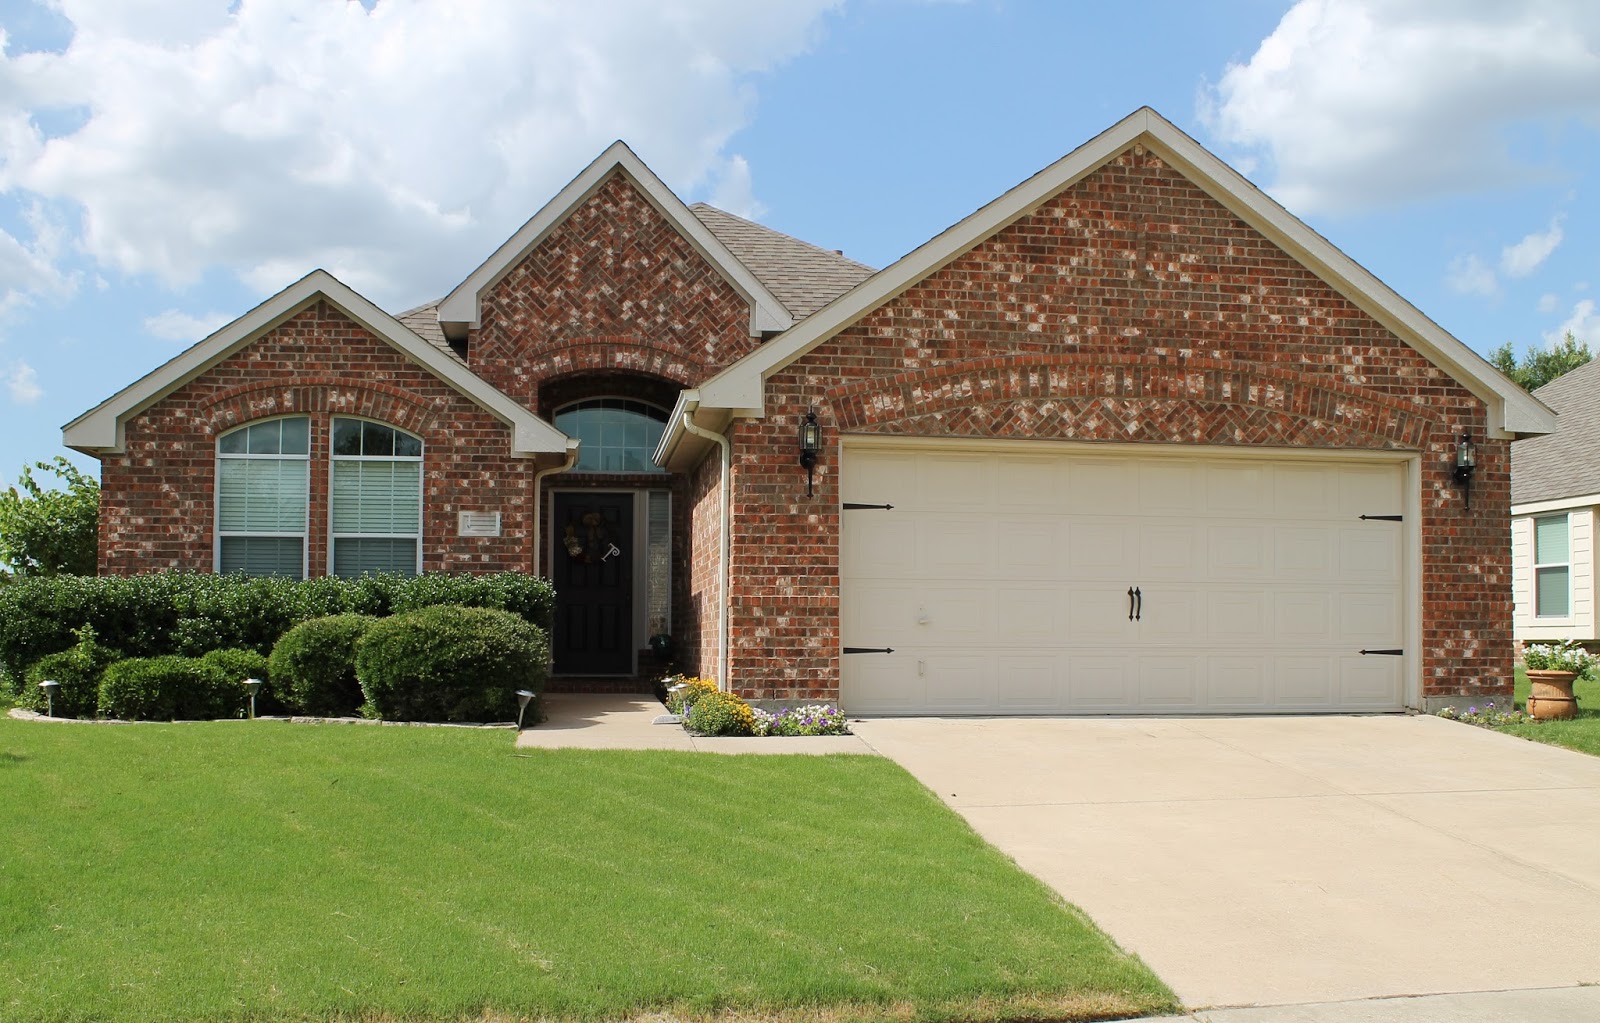
Slowly but surely we are turning this little house into a home. I haven't killed all our flowers and our painted front door is still a hit. I really want to rip out all those bushes, but, you know, time is not what we've had a lot of lately. And, although I think I'd be willing to tackle it on my own while Chris is at work, him and his dad are the yard masters, so I will leave it to them! 


Here is a before and after:


Just adding this little touch made a world of difference!

DIY || Vintage Ironing Board

Monday, April 20, 2015


Hello! I haven't posted since last Wednesday because school has been so crazy lately. I've been getting home around 7:00pm and by the time I shower and eat, the last thing I want to do is blog. But, I finally took the time to sit down and spill the beans about some of my favorite DIY projects lately and what we were up to this weekend.

Friday night we had an impromptu game night with our friends. They ordered pizza and we stayed up until 11:00pm (rebels!) playing cards. It is such a blessing to be developing friendships with other couples that we know are going to be lifelong friends!

Saturday I slept in (because I stayed up way too late...being a rebel, ha!) and then it was DIY projects and yard work all day. I cleaned and did laundry and then worked on some things in the garage. We had a date night to McAllister's and didn't even bother to change out of our work clothes. 

Sunday we went to church then continued with the housework and projects.

One project I am so excited to share with y'all is this vintage ironing board. I've been wanting one for so long and found the perfect one over Easter weekend when I was visiting my family in the hill country. And the best part...it was only $15.


I wanted it to look a little more distressed, so we scuffed it up with the sander.


A family friend gave us this 'Home Sweet Home' sign back in February. It was red, but I wanted it to be more neutral, so I painted it a light grey and then scuffed it up with sandpaper. 

There was never any intention to put the sign and the ironing board together, but I think it turned out better than Chris or I were expecting! We absolutely love it! 


While down at my parent's I also got this wooden piece that Chris attached a glass vase and some flowers to. He wanted to hang "man stuff" on it (fishing lures), but I told him I would just get him one when we went back to the flea market. Boys.


We are slowly turning this house into a home. Chris is becoming more receptive to my shabby-chic decor and each time we DIY something he ends up loving it and wanting more vintage pieces.

Next up on the project list: decorating the 2nd guest bedroom! We got paint samples and I'm not sold on any of the colors, so this project may take awhile.

Happy Monday!

DIY || Painted Front Door

Monday, March 30, 2015


Ever since we moved in to our house last March I have hated our front door. It looked so dingy and the color was somewhere between primer and off-white.

We went to look at doors on Saturday (more on that tomorrow) and didn't see anything worth spending a thousand dollars on, so we opted to just paint it for now. I really want a front door with windows to let in some natural light, but I really want counter-tops more :)

The weather was perfect here in Dallas and I was able to have the door open all day allowing me to paint without having to worry about the house being too hot or too cold. 

Because of our HOA, we are limited on the colors our front door can be, but I love black doors, so that's what we went with. The exact color is Black Suede by Behr. 

I bought exterior paint with a primer, so all I did was lightly sand and clean the door before applying the first coat. I used a brush around whateveryoucallthoserectanglethings and then rolled over the brush strokes with a foam roller. It took three coats and we are in love with the results! 

BEFORE


DURING


AFTER


This was our most productive weekend all year and a lot of what we did involved the doors in our house! I can't wait to show you our next project tomorrow!

Happy Monday!

Floor Renovation || Part 1

Monday, January 26, 2015

I have to break this renovation into two parts because were out and about yesterday and we didn't have time to move all the furniture back and take pictures, so hopefully I can get home in time to take some after pictures!

For now, here are some details about the floors we chose, and why.

Back in March when we bought our house we knew the carpets would have to go. Having Bailey and Wrigley is basically guaranteeing that we will never be a "carpet" family. By December the carpets were ewww. They probably looked fine to most, but Chris and I could tell that they were really on their last leg. We would vacuum all the time, rent a steam cleaner, but they never looked like they did when we moved in.

After a little research, we decided laminate was the best option for people with dogs. Real wood scratches easily and we loved those new wood tiles, but we had tile in our old house and my feet hurt all the time from the floor being so hard.

We had been scouring the options Home Depot for quite some time. Over Thanksgiving break we had a contractor come out and he gave us a ridiculously high quote that got us a little discouraged. One day my Dad and I were at Home Depot and one thing led to another and we found out they were having a deal where they would install your laminate (up to 1,000 sq. ft.) for a flat rate of $497. Since we were doing almost 800 square feet, this seemed like the best option.

We chose a more rustic look. We love the dark wood floors, but people have said that the dark shows everything and we knew that would be awful with dogs. We ended up going with Country Oak Sundown and couldn't be more thrilled! It has natural looking imperfections and isn't too dark, or too light.

We rearranged our bedroom, bought a couple new rugs, and are planning more updates soon. This renovation has kick-started our itch for updating our house and we can't stop thinking about what project is next.

Here are a few pictures. I can't wait to show y'all how they look with all the furniture in place!


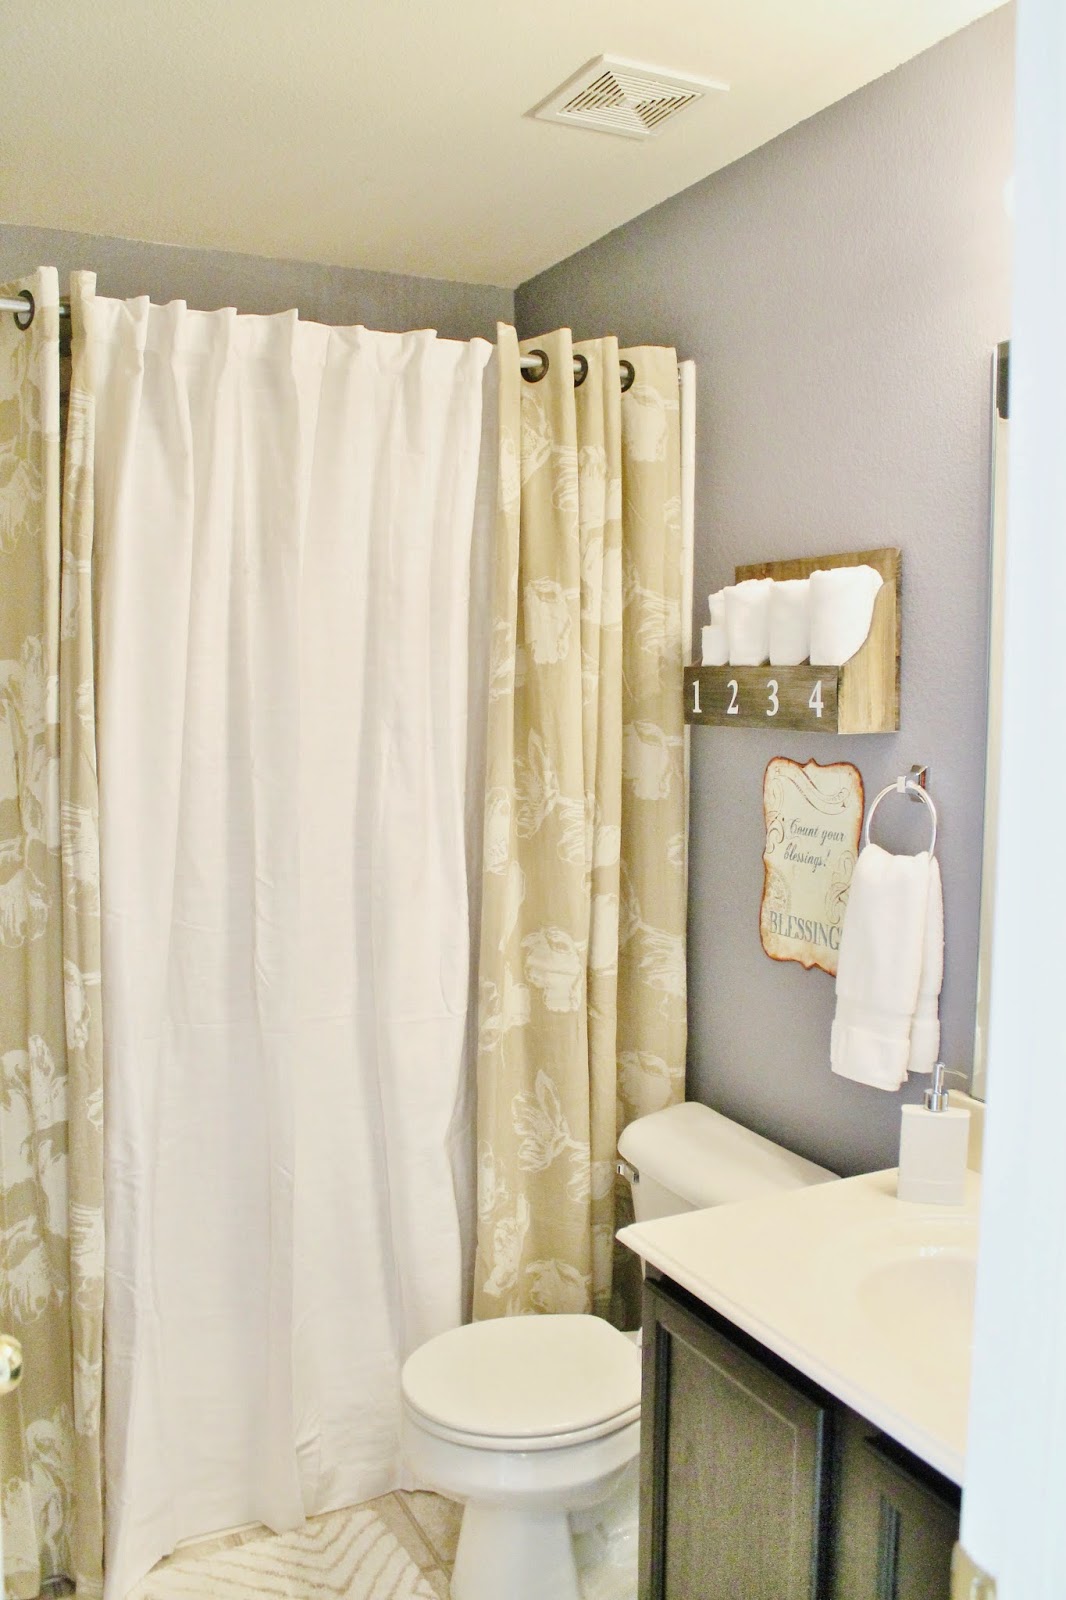
House Tour: Guest Bathroom

Thursday, December 4, 2014

Over Thanksgiving break I had tons of time to shop. Shopping led to finding new things, which led to a sudden urge to redecorate our house in anticipation of hosting Christmas this year.

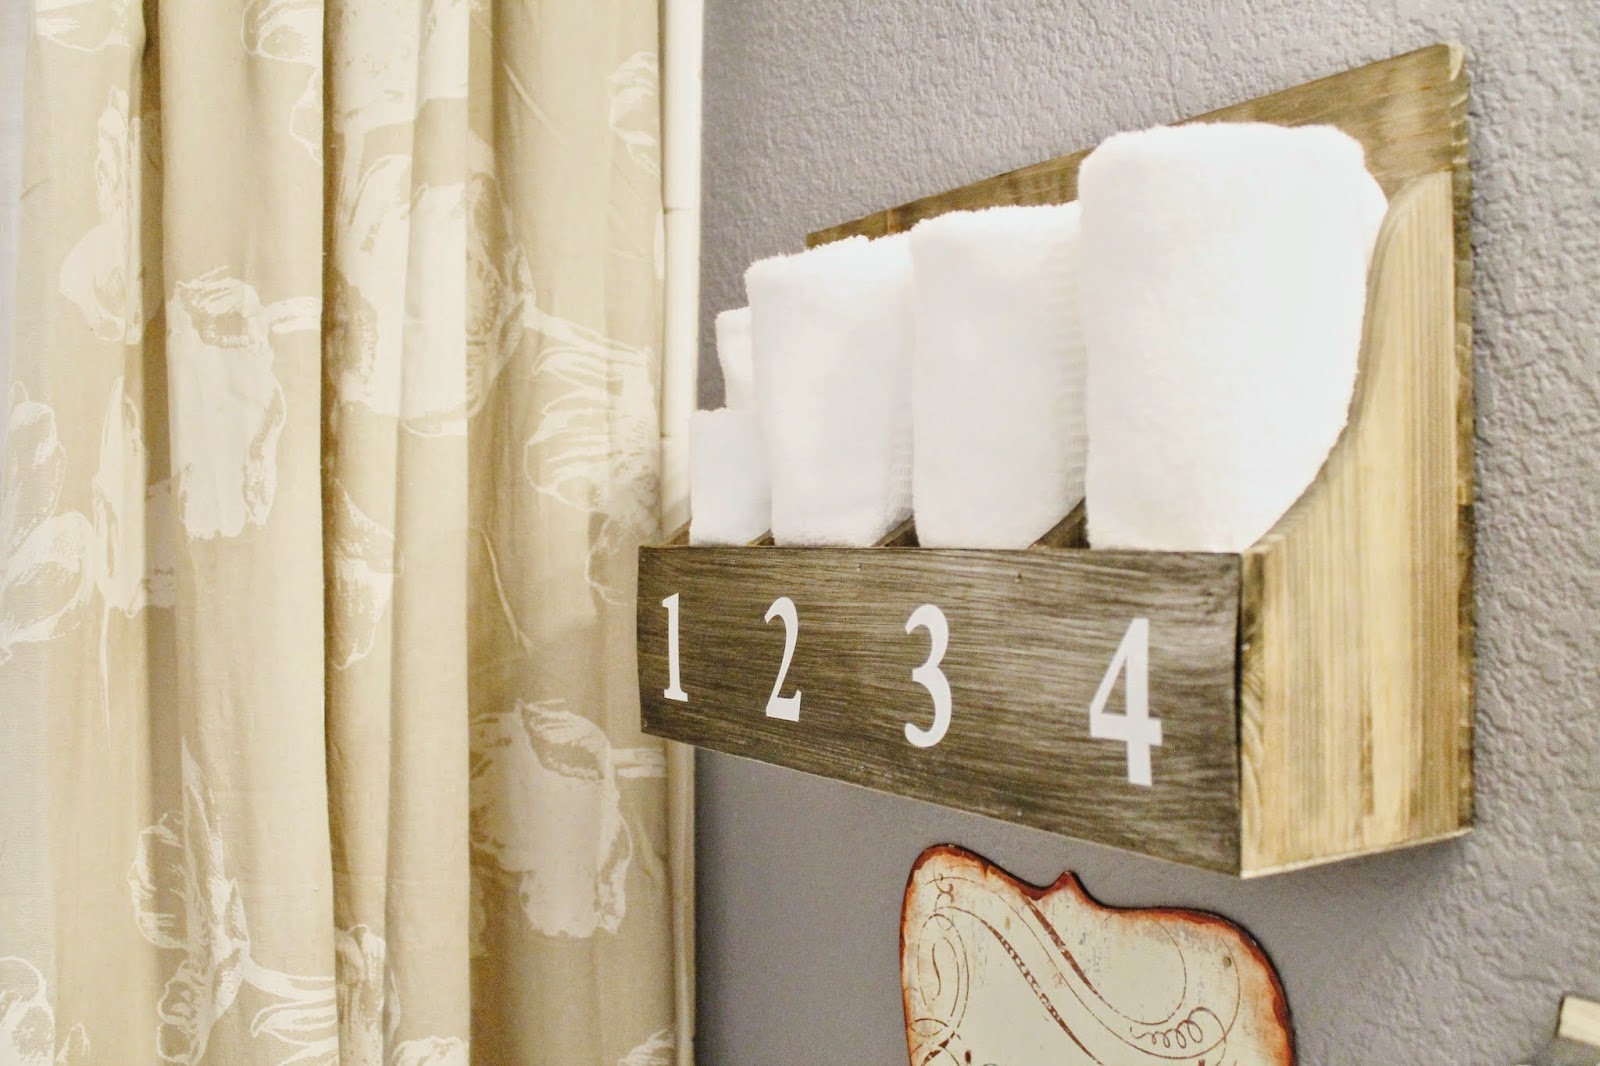
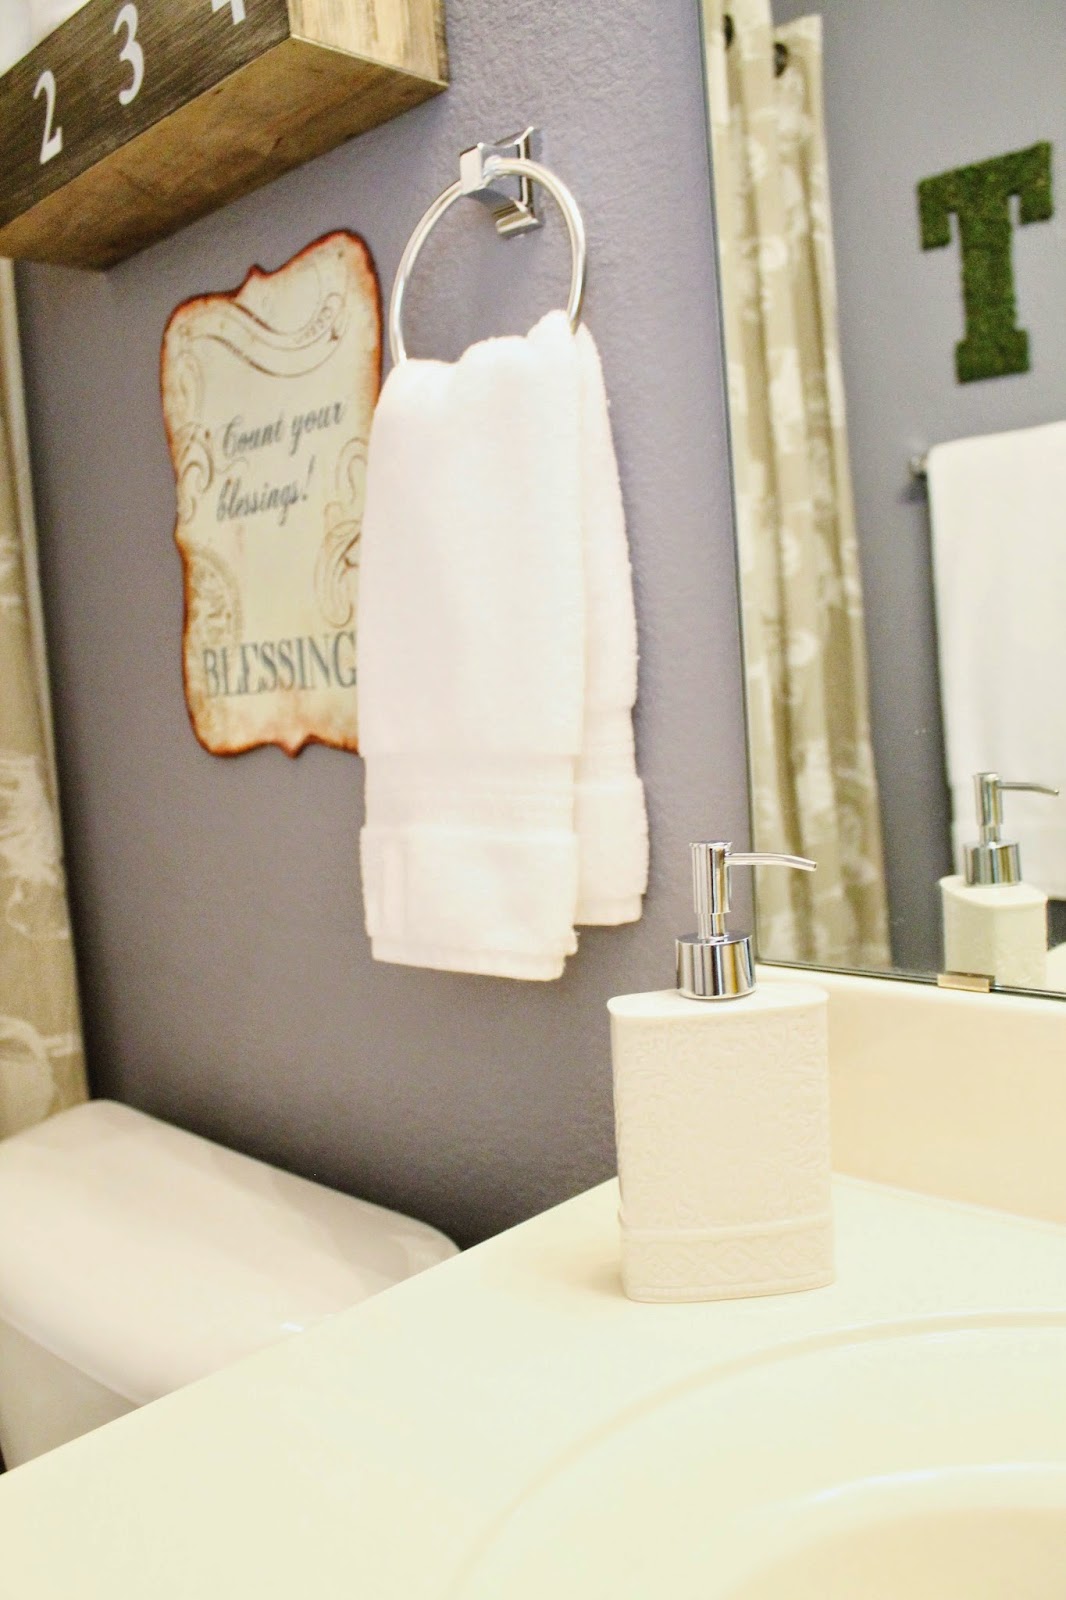
One room in this house, and our previous house, that has been neglected is our guest bathroom. We have been using the same decor that I have had since my freshman year of college. Don't get me wrong, I still loved it, but it was time for something fresh. As Chris would say, "It's time to get more mature stuff." Okay, boss-man, more mature stuff it is.

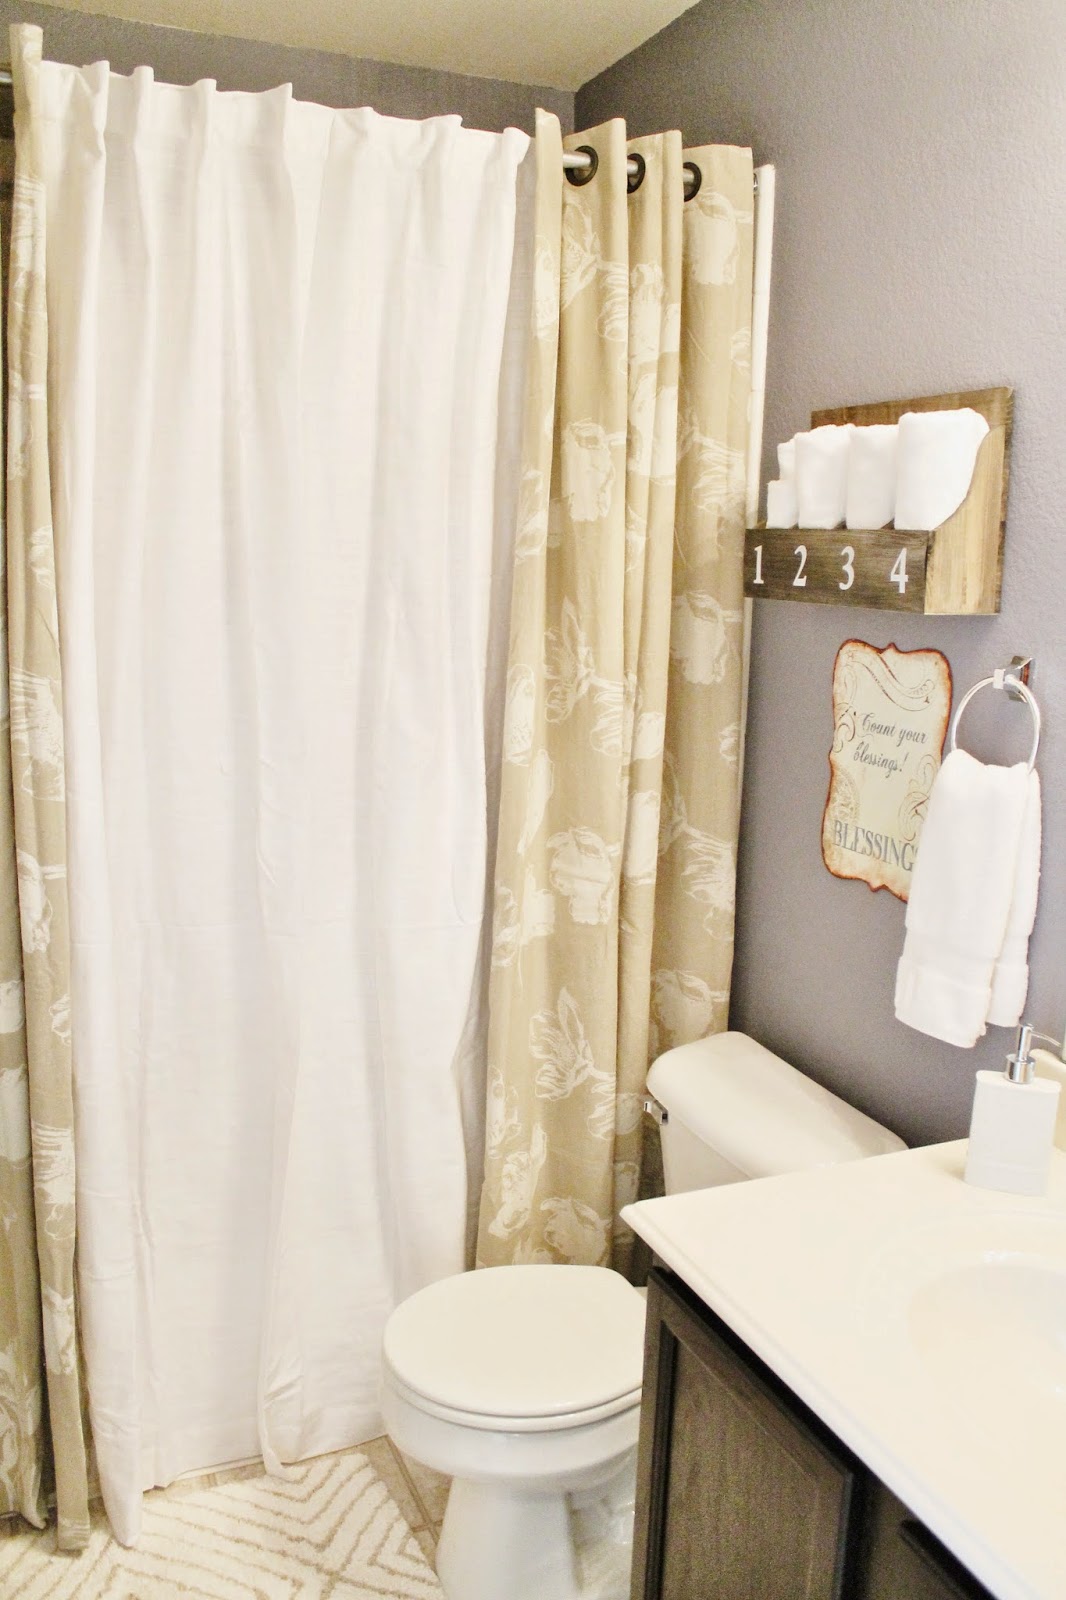
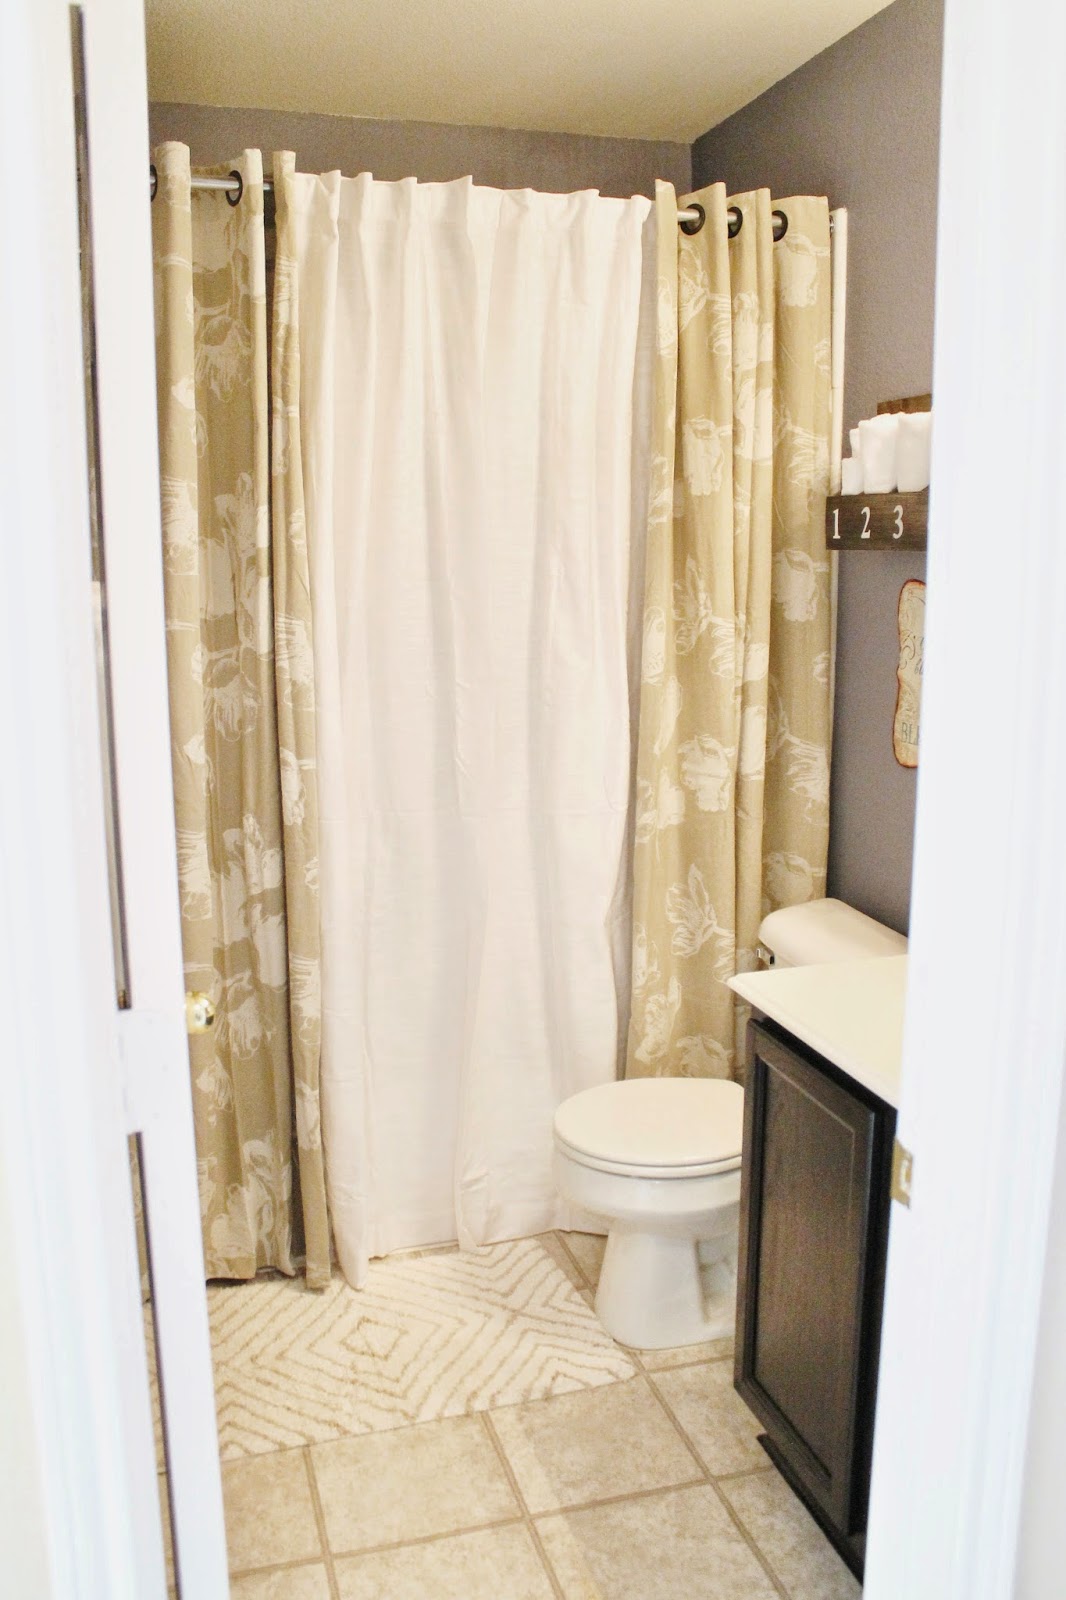
My first order of business was finding a shower curtain that was longer than 72". In my search I found that is the standard size, but that was not going to cut it. It made our poor shower look like it was wearing high-waters! So, off to the curtain section I went.

I was going for a more clean look by incorporating in lots of whites. My main goal was to not have to repaint, since I hate painting. I wanted to use the paint color the previous homeowners had chosen and just go with that, since I didn't hate it.

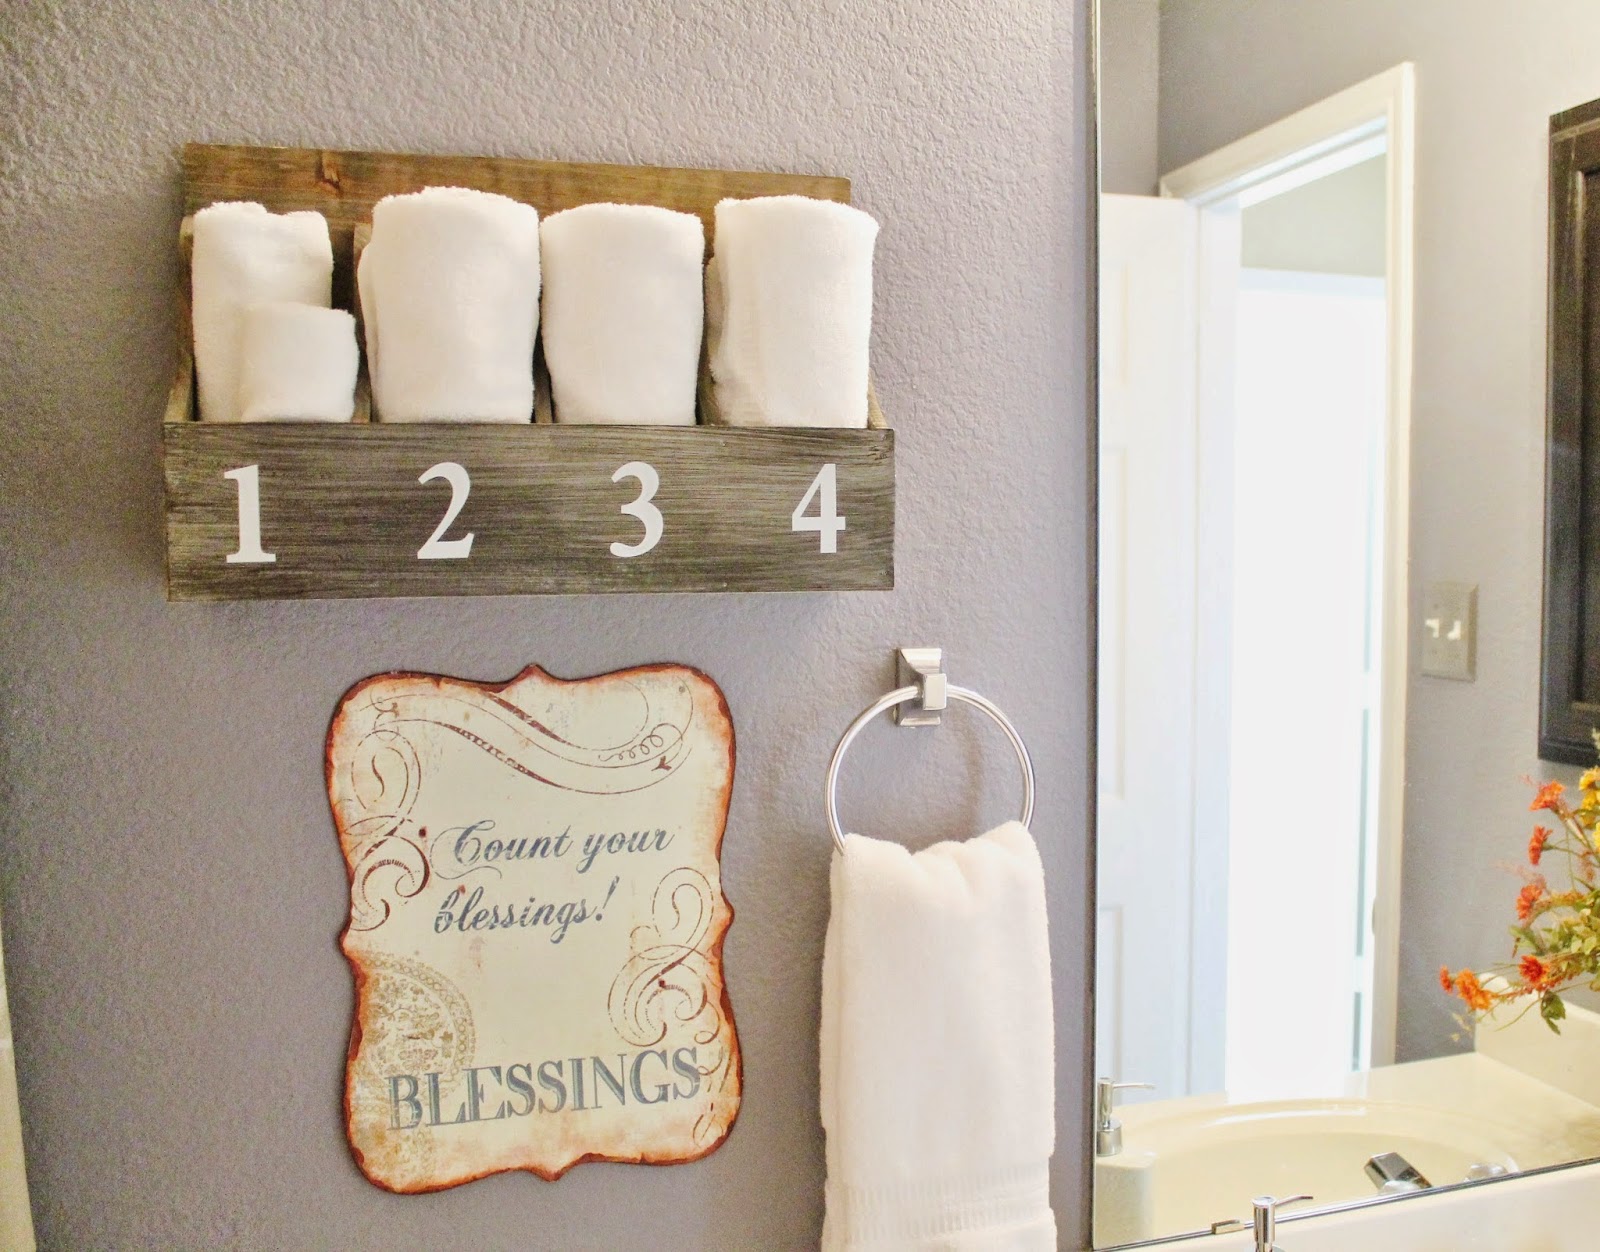
One thing lead to another and I managed to pull together a fresh look for our bathroom at just under $150!


Kensie Tulip Curtains - here
Threshold White Curtain - here
Wooden Box - similar here
Towels, rug, soap dispenser are all from HomeGoods.
DIY Moss "T" here
Metal art from Hobby Lobby