Showing posts with label Decor. Show all posts

Graham's Nursery Reveal

Monday, April 18, 2016

I am so excited to finally reveal Graham's nursery. Better late than never!  I started out his room with one vision in mind and it ended up in a completely different direction, which I LOVE. The main thing I didn't want was a room that looked like a baby lived there. I'm hoping this room can transition with him until he gets old enough to dictate what he wants his own room to look like.

I linked all of the room sources at the bottom of the post. 


Wall Color - Repose Gray by SW
Antlers - courtesy of Chris :)


House Tour || Living Room {Progress}

Tuesday, April 21, 2015


Slowly, but surely this little house of ours is coming along. We just hit the one year mark in this house and I feel like we have made some great progress. In our first house I felt like we made progress, but then I regretted a decor decision I made. We are taking our time with this house to ensure we make it exactly how we want...at least until I change my mind:)

So far we have:
- Updated the floors
- Painted the red wall to match the other walls
- Hung curtains
- Bought a rug
- Bought a couch
- Bought new throw pillows

To-do list:
- Probably get new curtains. I want something lighter and more airy.
- New coffee table
- Buy/DIY a huge clock for over the mantel 
- Buy a media cabinet (something like this). We like the entertainment center we have, but when we have kids they will be messing with everything we have on the shelves, etc. Plus, we want a bigger TV and we can't fit one in the space provided.

Source list: 
Couch - Ashley Furniture
Rug - Home Depot
Entertainment Center - Ikea
White Frames - Ikea
Console Table - Ashley Furniture
Art on Mantel - Minted
Glass Vase and Flowers - World Market
Candlesticks - Flea Market
Clock - Gift
Mirror above TV - Homegoods
Throw Pillows - Homegoods 

This is a picture to remind you how the house looked when we were looking to buy it:


DIY || Vintage Ironing Board

Monday, April 20, 2015


Hello! I haven't posted since last Wednesday because school has been so crazy lately. I've been getting home around 7:00pm and by the time I shower and eat, the last thing I want to do is blog. But, I finally took the time to sit down and spill the beans about some of my favorite DIY projects lately and what we were up to this weekend.

Friday night we had an impromptu game night with our friends. They ordered pizza and we stayed up until 11:00pm (rebels!) playing cards. It is such a blessing to be developing friendships with other couples that we know are going to be lifelong friends!

Saturday I slept in (because I stayed up way too late...being a rebel, ha!) and then it was DIY projects and yard work all day. I cleaned and did laundry and then worked on some things in the garage. We had a date night to McAllister's and didn't even bother to change out of our work clothes. 

Sunday we went to church then continued with the housework and projects.

One project I am so excited to share with y'all is this vintage ironing board. I've been wanting one for so long and found the perfect one over Easter weekend when I was visiting my family in the hill country. And the best part...it was only $15.


I wanted it to look a little more distressed, so we scuffed it up with the sander.


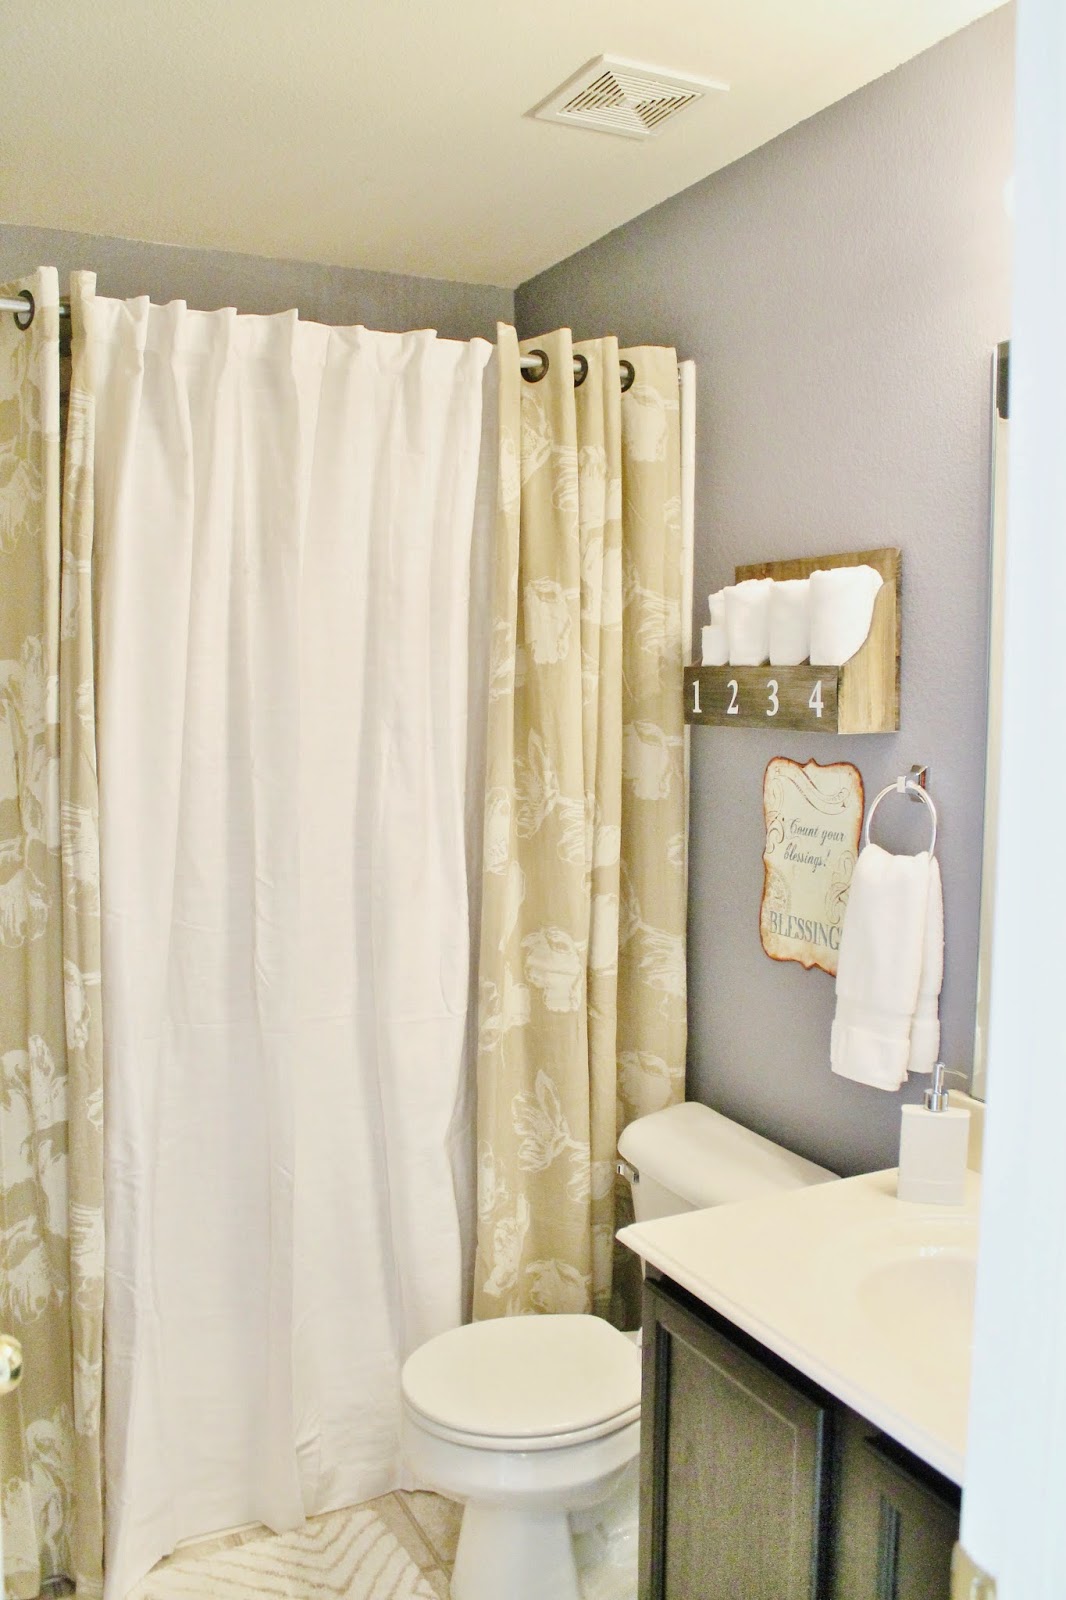
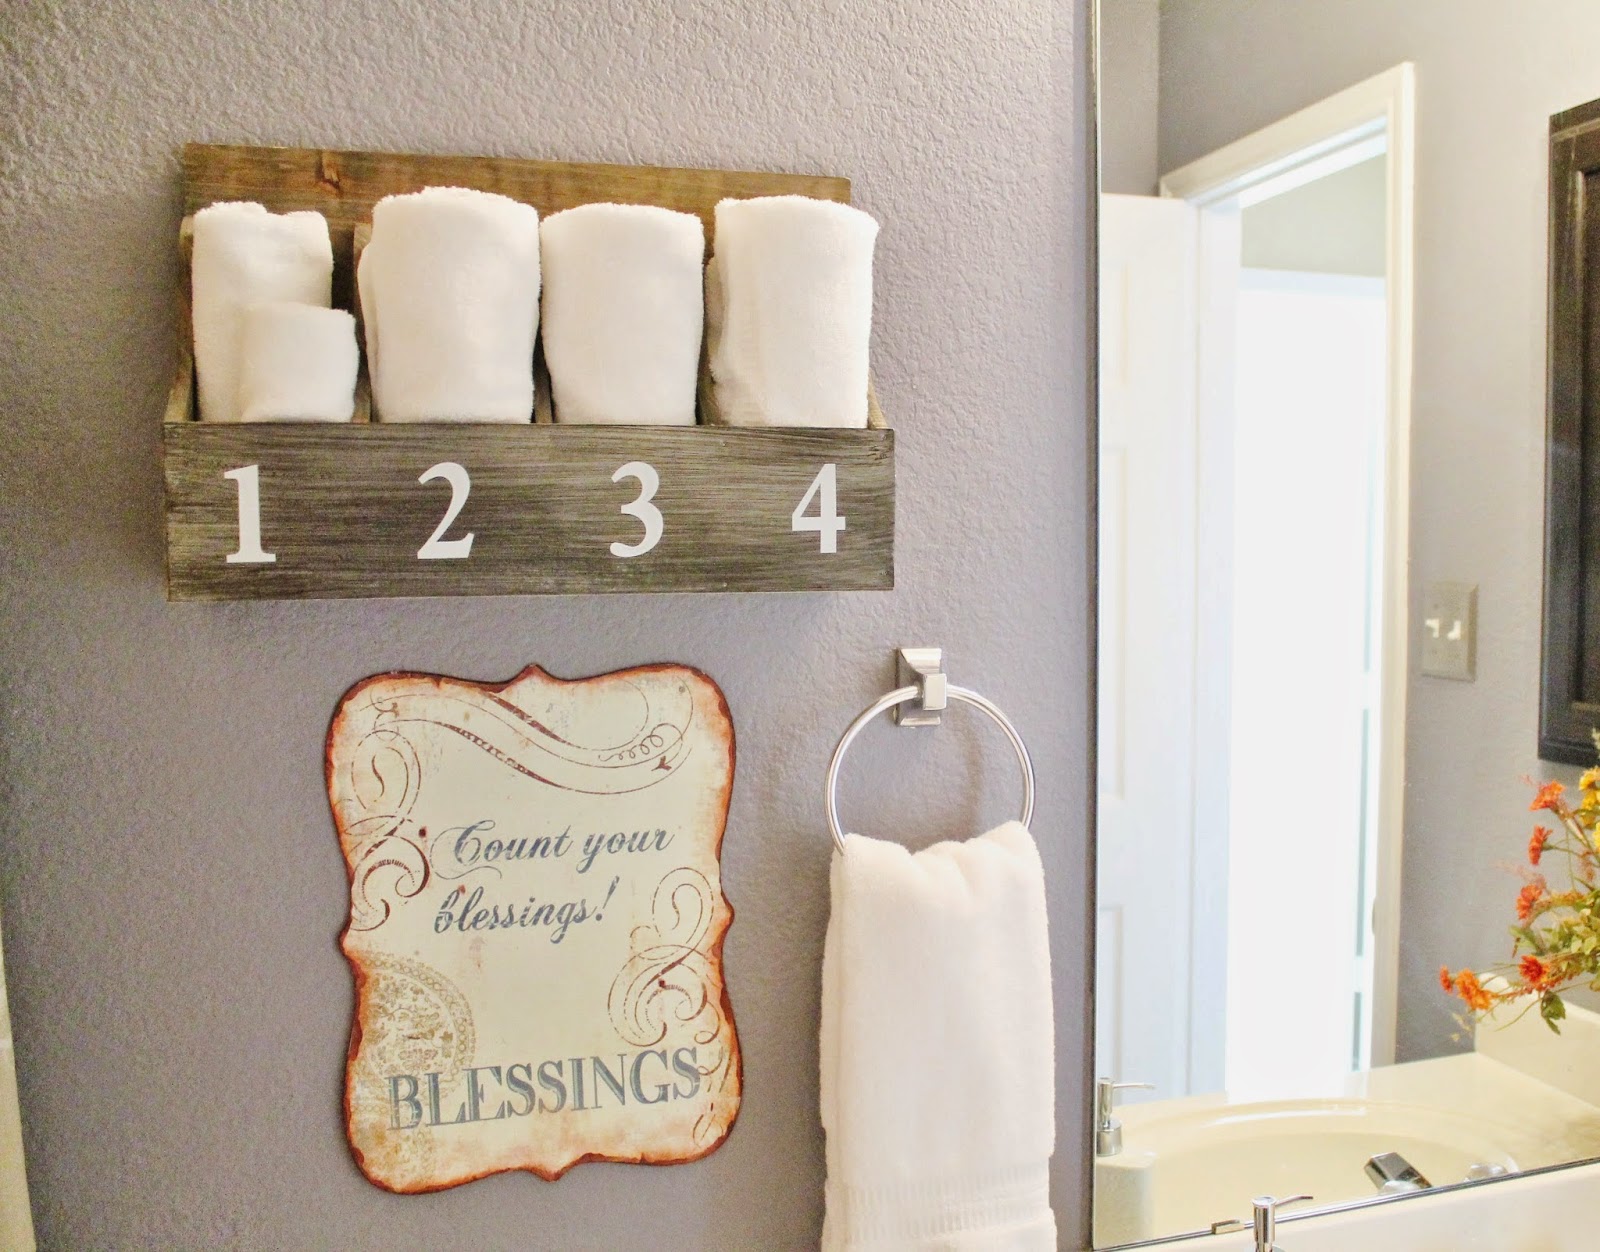
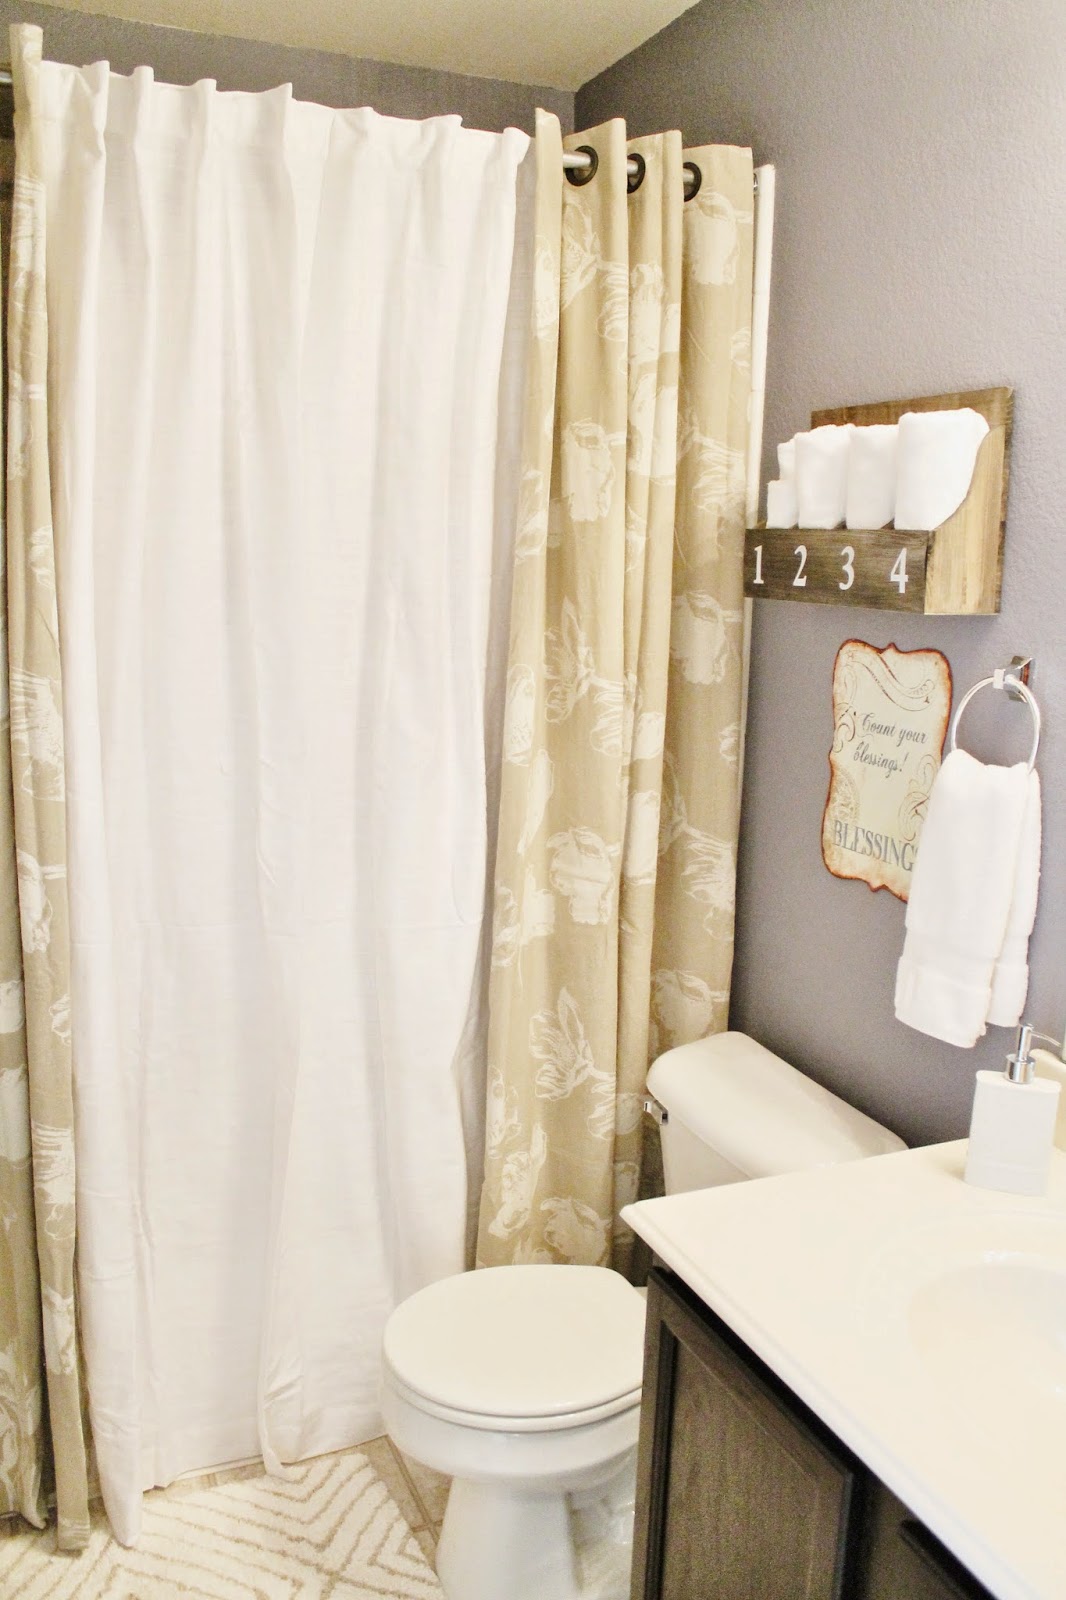
A family friend gave us this 'Home Sweet Home' sign back in February. It was red, but I wanted it to be more neutral, so I painted it a light grey and then scuffed it up with sandpaper. 

There was never any intention to put the sign and the ironing board together, but I think it turned out better than Chris or I were expecting! We absolutely love it! 


While down at my parent's I also got this wooden piece that Chris attached a glass vase and some flowers to. He wanted to hang "man stuff" on it (fishing lures), but I told him I would just get him one when we went back to the flea market. Boys.


We are slowly turning this house into a home. Chris is becoming more receptive to my shabby-chic decor and each time we DIY something he ends up loving it and wanting more vintage pieces.

Next up on the project list: decorating the 2nd guest bedroom! We got paint samples and I'm not sold on any of the colors, so this project may take awhile.

Happy Monday!

House Tour || Master Bedroom {Update}

Tuesday, February 3, 2015

When we were deciding on new floors, we knew we wanted them to extend into our bedroom. Wrigley and Bailey aren't allowed in our room except to sleep (on the floor), but we just knew we wanted to get rid of the existing carpet. 

Once we got all the furniture out we decided to rearrange and put our bed on the opposite wall. In my opinion, it makes the room so much bigger. You can see our room before here. We have the same exact rug in here are we do in our living room

I added greenery to our $9 DIY wooden wall art and for now it is staying on the same wall. We are planning on getting a king size bed soon, so depending on the headboard we choose, I'm not sure what we will hang over our bed. Also, a new bed means new sheets, quilts, duvet, etc., so who knows the direction this room could go! 


Rug - Home Depot
Headboard - DIY under $50 here
Bedding - Bed, Bath, and Beyond
Lamps - Ralph Lauren from HomeGoods
Wooden Wall Art - DIY here

Happy Tuesday!

Ralph Lauren || Bedside Lamps

Tuesday, January 13, 2015


I've wanted new bedside for awhile now. Our old ones (seen here) were an impulse purchase and never really were our style.

For Christmas my Mom and Dad said they would buy us new lamps. When I found these Ralph Lauren beauties, there was no looking back. To me, they are timeless, and pieces that we will have forever. I wanted something with a clear base and a white shade.

Within the next couple weeks we are doing a major home improvement project and I've already got plans on how this room will change, once again, so stay tuned! 

House Tour: Guest Bathroom

Thursday, December 4, 2014

Over Thanksgiving break I had tons of time to shop. Shopping led to finding new things, which led to a sudden urge to redecorate our house in anticipation of hosting Christmas this year.

One room in this house, and our previous house, that has been neglected is our guest bathroom. We have been using the same decor that I have had since my freshman year of college. Don't get me wrong, I still loved it, but it was time for something fresh. As Chris would say, "It's time to get more mature stuff." Okay, boss-man, more mature stuff it is.

My first order of business was finding a shower curtain that was longer than 72". In my search I found that is the standard size, but that was not going to cut it. It made our poor shower look like it was wearing high-waters! So, off to the curtain section I went.

I was going for a more clean look by incorporating in lots of whites. My main goal was to not have to repaint, since I hate painting. I wanted to use the paint color the previous homeowners had chosen and just go with that, since I didn't hate it.

One thing lead to another and I managed to pull together a fresh look for our bathroom at just under $150!


Kensie Tulip Curtains - here
Threshold White Curtain - here
Wooden Box - similar here
Towels, rug, soap dispenser are all from HomeGoods.
DIY Moss "T" here
Metal art from Hobby Lobby