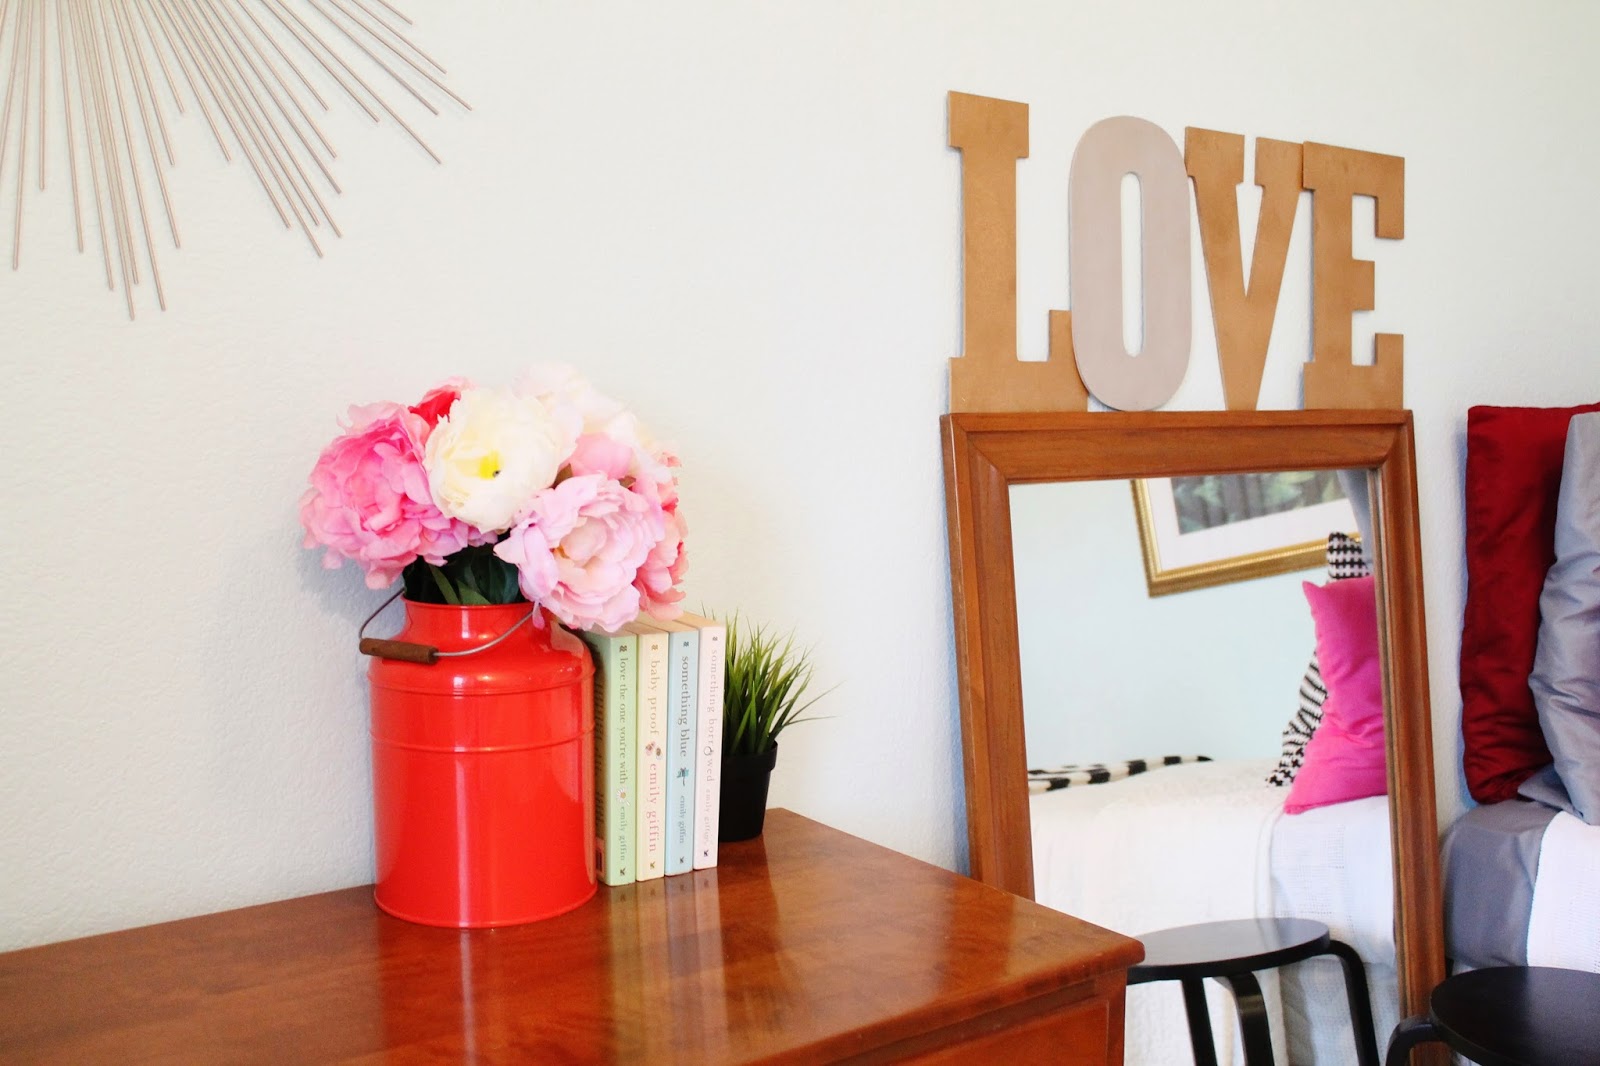
Because I am cheap, and because we had four sets of curtains sitting in the attic, I decided that I would try to use what we had instead of spending money on new curtains for our guest room. I couldn't find curtains that were the right height and I was tired of looking, so DIY it was.
Both sets of curtains are from college and hadn't seen the light of day in years. The beige set were mine and the navy set were Chris's.
My initial thought was to do thick stripes and then I realized I was being a bit ambitious.
To start, I cut the navy curtains to be two foot high and, luckily, the width already matched the beige curtains, so that made life easier. After I cut the blue curtain, I "hemmed" the top (where I cut it) with my no sew tape. By the way, I cut the bottom of the each navy panel, that way I wouldn't have to "hem" more edges than necessary.
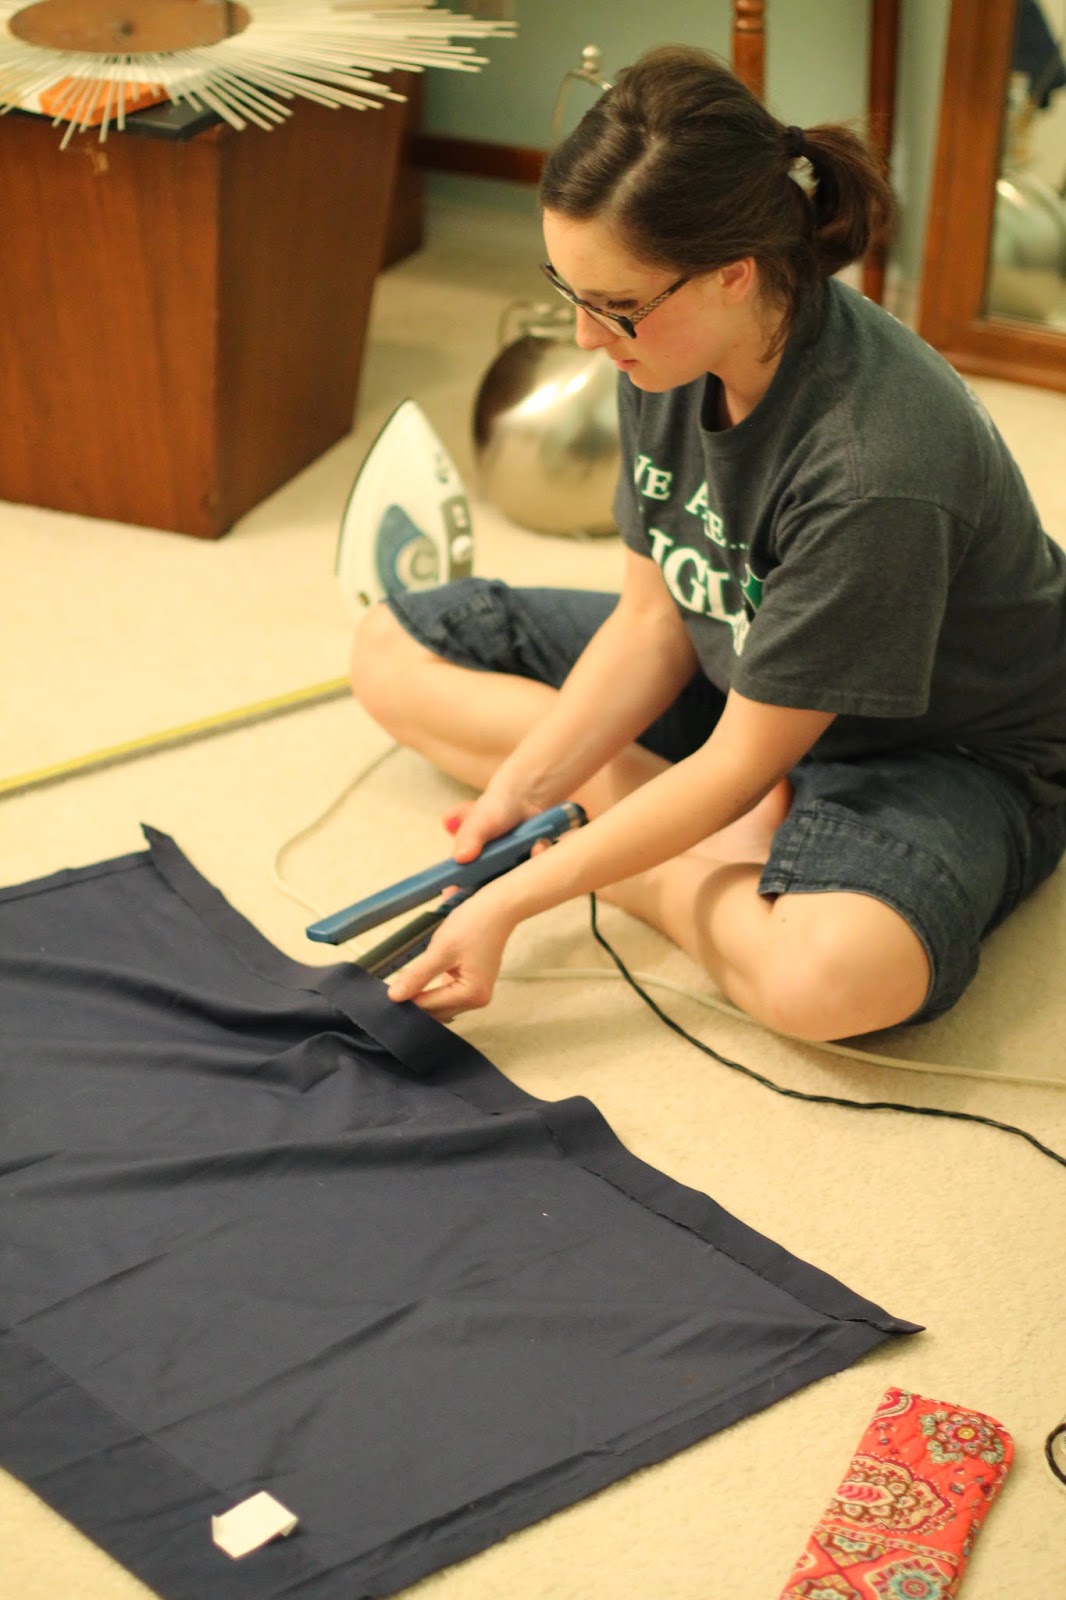
Then I measured one foot up from the bottom of the beige curtain and marked where I needed to attach the blue section. I then slapped on some no-sew tape, heated it up with my hair straightener, and wa-laaa; curtains fo' free!


Those instructions probably make no sense, so if you have any questions, feel free to leave a comment. Basically, I used the beige curtains and attached a piece of the navy curtain to the bottom using my favorite sewing tool; no sew tape!